Materials
-
large empty plastic soda bottle
-
a cork
-
a pump with a needle adaptor (a powerful pump makes a difference!)
-
2 sheets of card-stock paper
-
scissors
-
paint and paint brushes
-
hot glue
.
METHOD
1. Push the needle adaptor of the pump completely through the cork. If necessary, you may trim the cork, have a parent help you with this step.
-
In a prepared area, paint the bottle with the any colour of paint. Let dry completely.
-
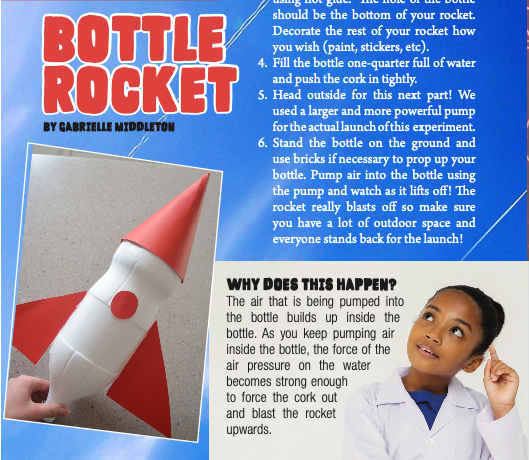
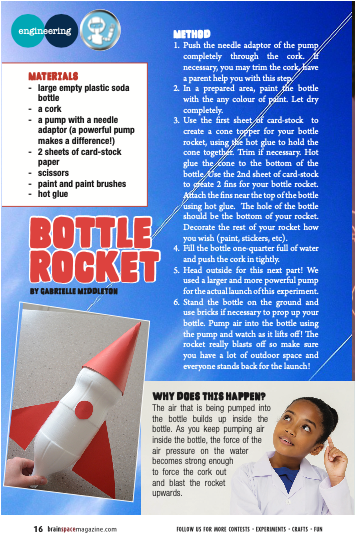
Use the first sheet of card-stock to create a cone topper for your bottle rocket, using the hot glue to hold the cone together. Trim if necessary. Hot glue the cone to the bottom of the bottle. Use the 2nd sheet of card-stock to create 2 fins for your bottle rocket. Attach the fins near the top of the bottle using hot glue. The hole of the bottle should be the bottom of your rocket. Decorate the rest of your rocket how you wish (paint, stickers, etc).
-
Fill the bottle one-quarter full of water and push the cork in tightly.
-
Head outside for this next part! We used a larger and more powerful pump for the actual launch of this experiment.
-
Stand the bottle on the ground and use bricks if necessary to prop up your bottle. Pump air into the bottle using the pump and watch as it lifts off! The rocket really blasts off so make sure you have a lot of outdoor space and everyone stands back for the launch!
.
WHY DOES THIS HAPPEN?
The air that is being pumped into the bottle builds up inside the bottle. As you keep pumping air inside the bottle, the force of the air pressure on the water becomes strong enough to force the cork out and blast the rocket upwards.
-