Looking for activities to keep your kids busy on winter weekends or winter break? Here are some fun activities your kids will be sure to love:
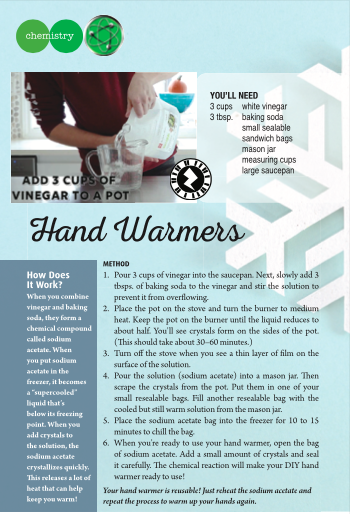
Hand Warmers
How Does It Work?
When you combine vinegar and baking soda, they form a chemical compound called sodium acetate. When you put sodium acetate in the freezer, it becomes a “supercooled” liquid that’s below its freezing point. When you add crystals to the solution, the sodium acetate crystallizes quickly. This releases a lot of heat that can help keep you warm!
Materials
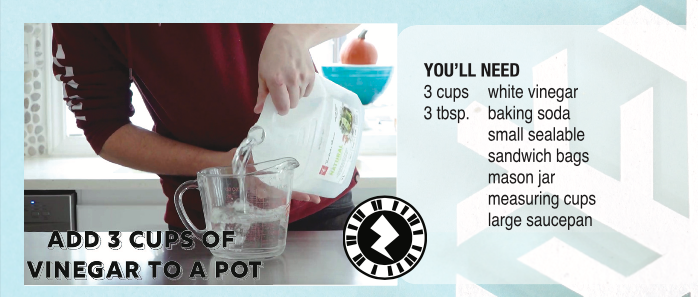
- 3 cups white vinegar
- 3 tbsp baking soda
- small sealable sandwich bags
- mason jar
- measuring cups
- large saucepan
Method
- Pour 3 cups of vinegar into the saucepan. Next, slowly add 3 tbsp of baking powder to the vinegar and stir the solution to prevent it from overflowing.
- Place the pot on the stove and turn the burner to medium heat. Keep the pot on the burner until the liquid reduces to about half. You’ll see crystals form on the sides of the pot. (This step should take about 30-60 minutes.)
- Turn off the stove when you see a thin layer of film on the surface of the solution.
- Pour the solution (sodium acetate) into a mason jar. Then scrape the crystals from the pot. Put them in one of your small resealable bags. Fill another resealable bag with the cooled but still warm solution from the mason jar.
- Place the sodium acetate bag into the freezer for 10 to 15 minutes to chill the bag.
- When you’re ready to use your hand warmer, open the ag of sodium acetate. Add a small amount of crystals and seal it carefully. The chemical reaction will make your DIY hand warmer ready to use!
NOTE: your hand warmer is reusable! Just reheat the sodium acetate and repeat the process to warm up your hands again.
Scan this image below using the Zappar App to watch how this experiment is done:
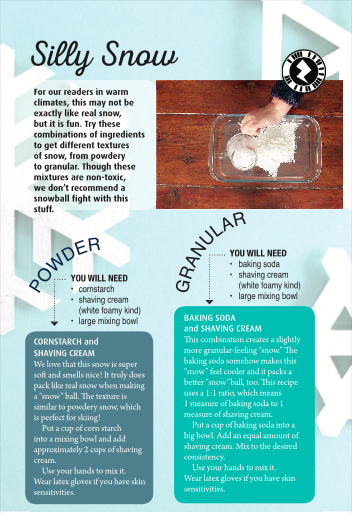
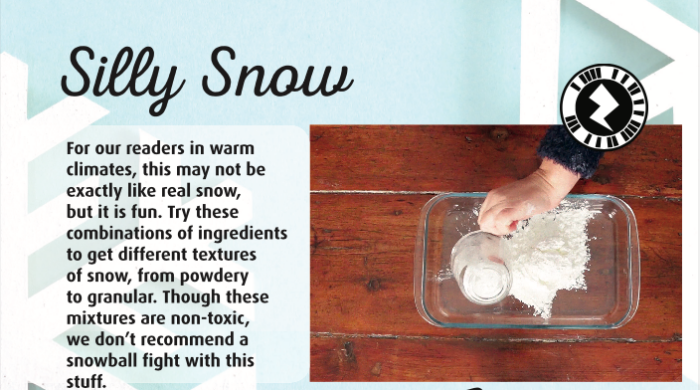
Silly Snow
For our readers in warm climates, this may not be exactly like real snow, but it is fun. Try these combinations of ingredients to get different textures of snow, from powdery to granular. Though these mixtures are non-toxic, we don’t recommend a snowball fight with this stuff.
You Will Need (powder):
- cornstarch
- shaving cream (white foamy kind)
- large mixing bowl
Method (powder):
We love that this snow is super soft and smells nice! It truly does pack like real snow when making a “snow” ball. The texture is similar to powdery snow, which is perfect for skiing!
- Put a cup of cornstarch into a mixing bowl and add approximately 2 cups of shaving cream.
- Use your hands to mix it. Wear latex gloves if you have skin sensitivities.
Materials (granular):
- baking soda
- shaving cream (white foamy kind)
- large mixing bowl
Method (granular):
This combination creates a slightly more granular-feeling “snow”. The baking soda somehow makes this “snow” feel cooler and it packs a better “snow” ball, too. This recipe uses a 1:1 ratio, which means 1 measure of baking soda to 1 measure of shaving cream.
- Put 1 cup of baking soda into a big bowl. Add an equal amount of shaving cream. Mix to the desired consistency.
- Use your hands to mix it. Wear latex gloves if you have skin sensitivities.
Scan this image below using the Zappar App to watch how this experiment is done:
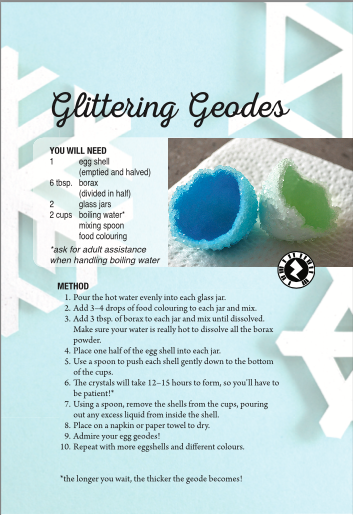
Glittering Geodes
You Will Need
- 1 egg shell (emptied and halved)
- 6 tbsp. Borax (divided in half)
- 2 glass jars
- 2 cups boiling water (ask an adult for assistance when handling boiling water)
- mixing spoon
- food colouring
Method
- Pour the hot water evenly into each glass jar.
- Add 3-4 drops of food colouring to each jar and mix until dissolved. Make sure your water is really hot to dissolve all the borax powder.
- Place one half of the egg shell into each jar
- Use a spoon to push each shell gently down to the bottom of the cups.
- The crystals will take 12-15 hours to form, so you’ll have to be patient! The longer you wait, the thicker the geode becomes!
- Using a spoon, remove the shells from the cups, pouring out any excess liquid from inside the shell.
- Place on a napkin or paper towel to dry.
- Admire your egg geodes!
- Repeat with more eggshells and different colours.
Scan this image below using the Zappar App to watch how this experiment is done:

Visit our website for more content or to subscribe!